Running seems simple enough—one foot in front of the other, right? Yet the difference between just running and running with proper form can mean the difference between chronic injuries and personal records. Whether you’re experiencing nagging pains or simply want to maximize your efficiency, running form correction is your pathway to becoming a stronger, faster, and healthier runner. In this comprehensive guide, I’ll walk you through the science-backed steps to transform your running mechanics and unlock your true potential.
Why Proper Running Form Matters
Injury Prevention
Poor running form places excessive stress on your joints, muscles, and connective tissues. Research shows that simple form corrections can reduce your injury risk by up to 50%. When you run with proper alignment, forces are distributed optimally throughout your body rather than concentrated on vulnerable areas like your knees or lower back.
Running Economy
Think of your body as a spring-loaded machine. With proper form, you harness elastic energy and minimize wasted movement. Studies indicate that runners with efficient form use 4-8% less energy at the same pace compared to those with poor mechanics. That’s essentially free speed without additional training!
Performance Enhancement
Improved running gait translates directly to better performance. By optimizing your foot strike patterns and body positioning, you’ll generate more forward propulsion with each stride. Elite runners aren’t just fitter—they’ve mastered the art of efficient movement.
5 Common Running Form Mistakes
Before diving into corrections, let’s identify the most common form errors that might be holding you back:
1. Overstriding
Landing with your foot too far in front of your body creates a braking effect with each step. This increases impact forces by up to three times your body weight and significantly raises your injury risk. Research links overstriding directly to tibial stress fractures and knee pain.
2. Heel Striking
While not inherently problematic for everyone, excessive heel striking often pairs with overstriding and creates jarring impact forces. This running gait pattern can increase stress on your knees and contribute to common running injuries like IT band syndrome.
3. Poor Posture
Running with a hunched back or forward head position increases stress on your spine and restricts your breathing capacity. Studies show that forward head posture alone can increase injury risk by 50% by creating imbalances between hip flexors and extensors.
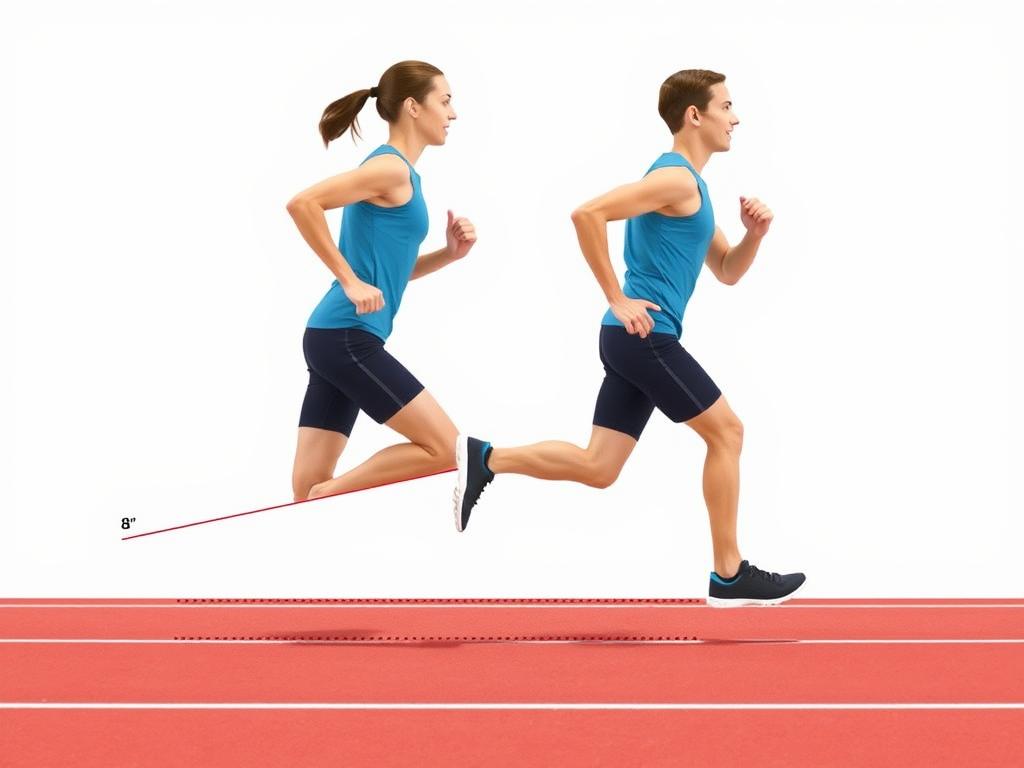
4. Insufficient Trunk Lean
Running too upright without proper forward lean from the ankles limits your power generation and places excessive load on your knees. Optimal trunk lean (about 8-10 degrees) helps engage your posterior chain muscles effectively.
5. Pelvic Drop
When your pelvis drops on the non-weight-bearing side during running (also called hip drop), it indicates weak hip stabilizers. Research shows runners with a pelvic drop difference of three degrees or more face 17 times greater injury risk compared to those with stable hips.
7-Step Running Form Correction Guide
Now that we understand what can go wrong, let’s focus on how to make it right. This systematic approach addresses each component of proper running form:
Ready to Transform Your Running?
Follow along with this guide and track your progress using our free assessment tool.
Download Running Form Assessment Worksheet
Step 1: Optimize Your Posture
Think of running tall, as if a string is gently pulling you upward from the crown of your head. Your shoulders should be relaxed and level, with your chest open.
Visualization Technique:
Imagine a helium balloon attached to the top of your head, creating a gentle upward lift through your spine. This cue helps maintain proper alignment without creating tension.
Posture Check Drill:
Stand sideways to a mirror. Your ear, shoulder, hip, knee, and ankle should form a relatively straight line. Practice this alignment first while standing, then walking, and finally running.
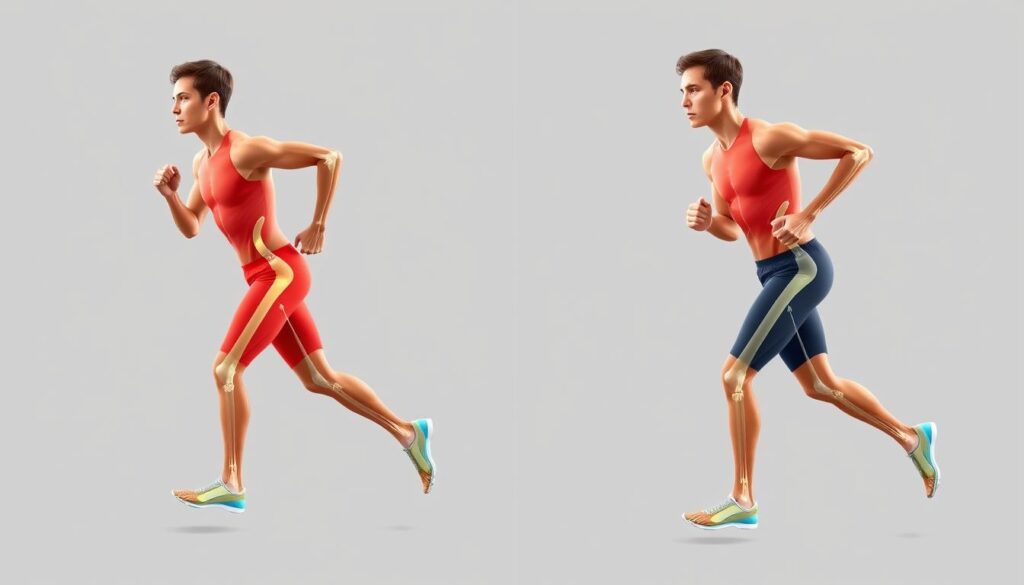
Step 2: Find Your Forward Lean
Proper forward lean comes from the ankles, not the waist. This positioning helps engage your posterior chain and reduces knee stress by up to 14% according to biomechanical studies.
Forward Lean Drill:
Stand with your feet hip-width apart. Keeping your body straight from head to heels, lean forward from your ankles until you feel like you might fall. At that point, start running. This natural falling motion creates the optimal 8-10 degree forward lean.
Step 3: Optimize Your Cadence
Your cadence—steps per minute—significantly impacts your running form. Most recreational runners benefit from increasing their cadence to reduce overstriding and decrease impact forces.
Cadence Assessment:
Count your right foot strikes for 30 seconds during a comfortable run, then multiply by 4 to get your steps per minute. Most efficient runners maintain a cadence between 170-185 steps per minute.
Cadence Improvement Drill:
Use a metronome app set 5-10% higher than your current cadence. Run to this beat for 30-second intervals, gradually increasing duration as it becomes comfortable.
Struggling with Your Cadence?
Our running form correction checklist includes a cadence progression plan tailored for beginners.
Step 4: Perfect Your Foot Strike
While there’s no one-size-fits-all foot strike pattern, landing with your foot closer to your center of mass reduces braking forces and improves efficiency.
Foot Strike Drill:
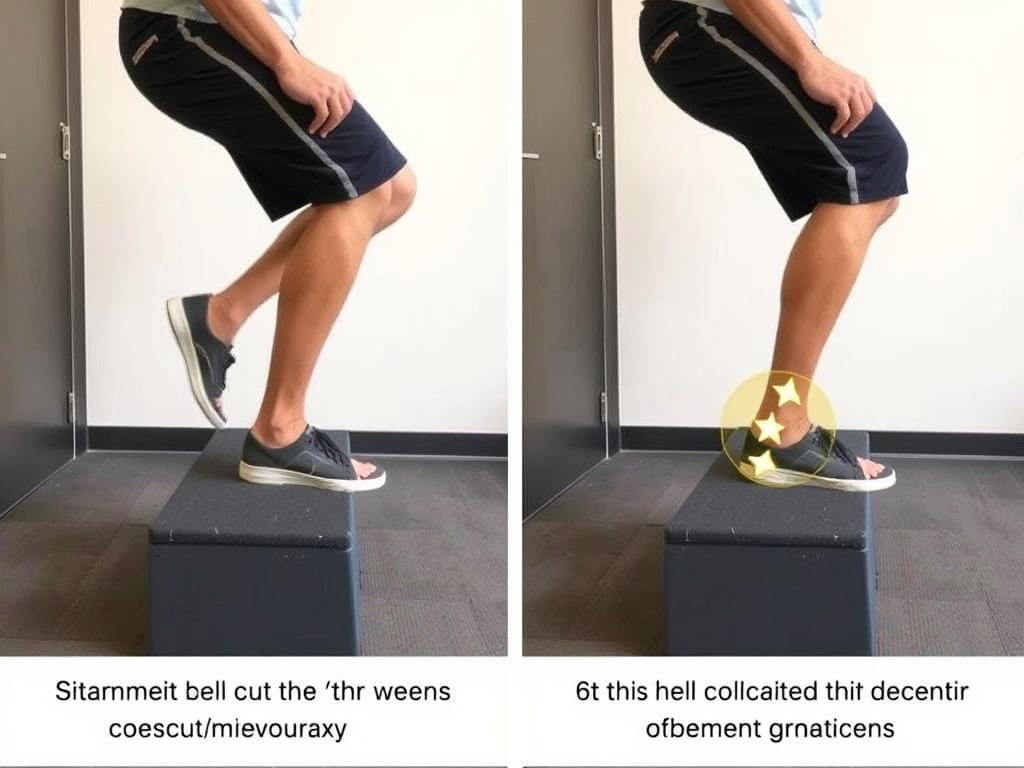
Practice running barefoot on a soft surface for 30 seconds. Your body will naturally avoid harsh heel striking. Pay attention to this sensation and try to replicate it in your regular running shoes.
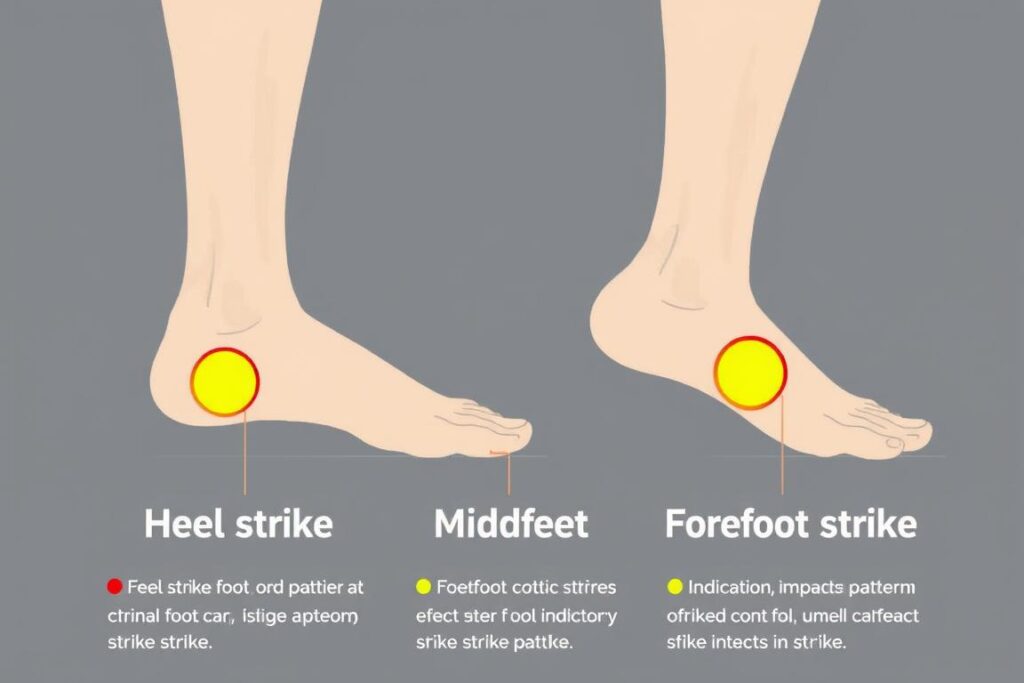
Different foot strike patterns and their impact on running biomechanics
Step 5: Strengthen Your Core and Glutes
A strong core and glute muscles provide the stability needed for proper running form. These muscle groups act as your body’s natural shock absorbers and power generators.
Core Stability Exercises:
- Plank variations (hold for 30-60 seconds)
- Bird dogs (12-15 per side)
- Dead bugs (10-12 per side)
- Side planks with hip dips (10-12 per side)
Glute Activation Exercises:
- Single-leg glute bridges (12-15 per side)
- Clamshells with resistance band (15-20 per side)
- Lateral band walks (12-15 steps each direction)
- Single-leg deadlifts (10-12 per side)
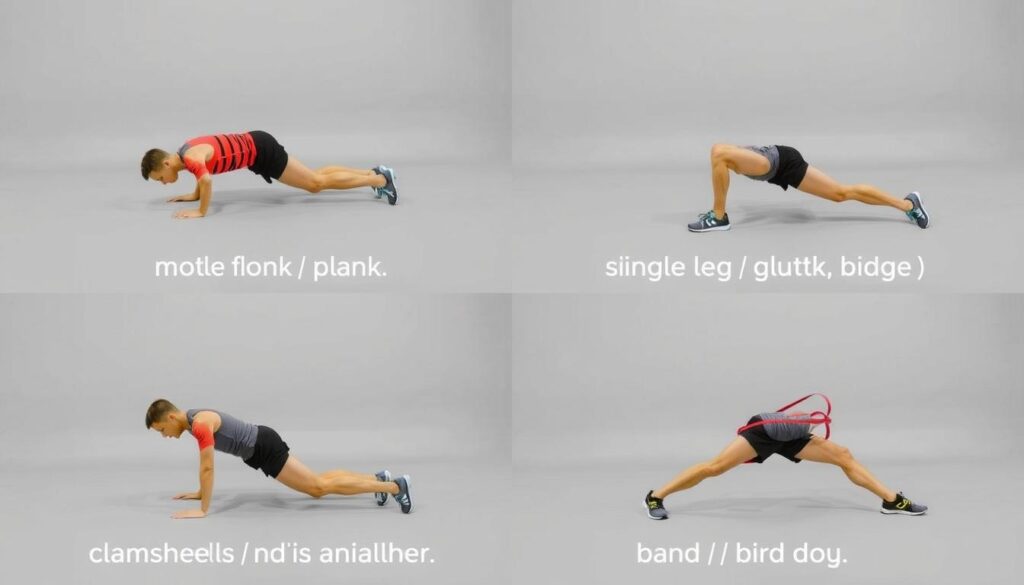
Key strengthening exercises to support proper running form
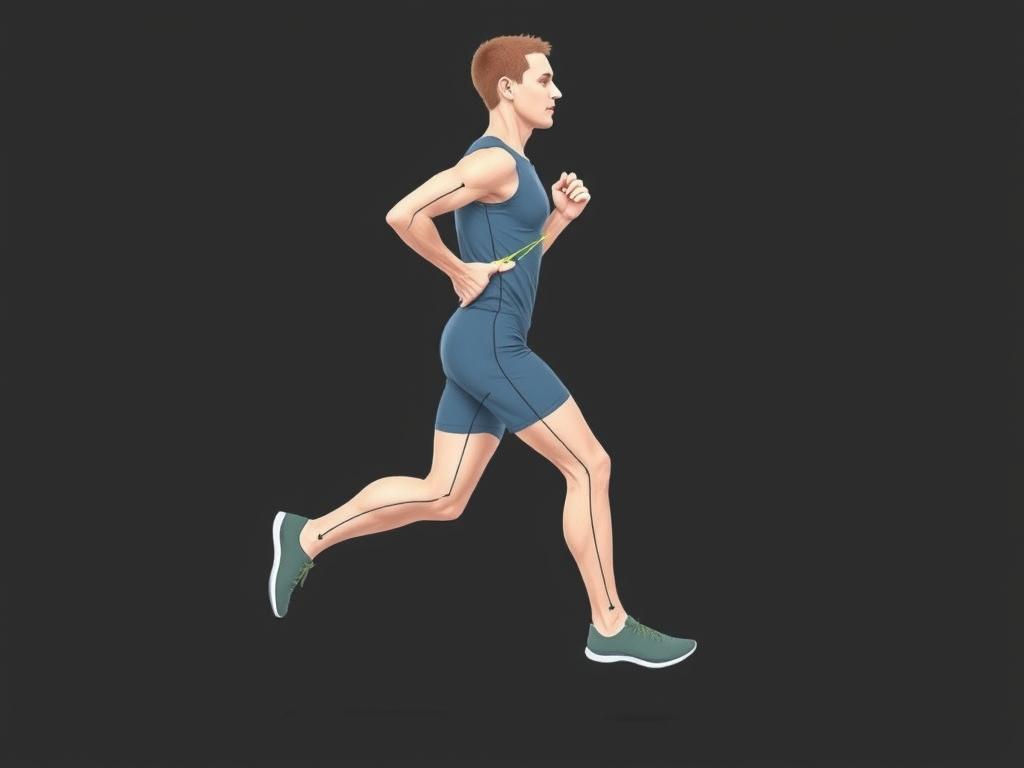
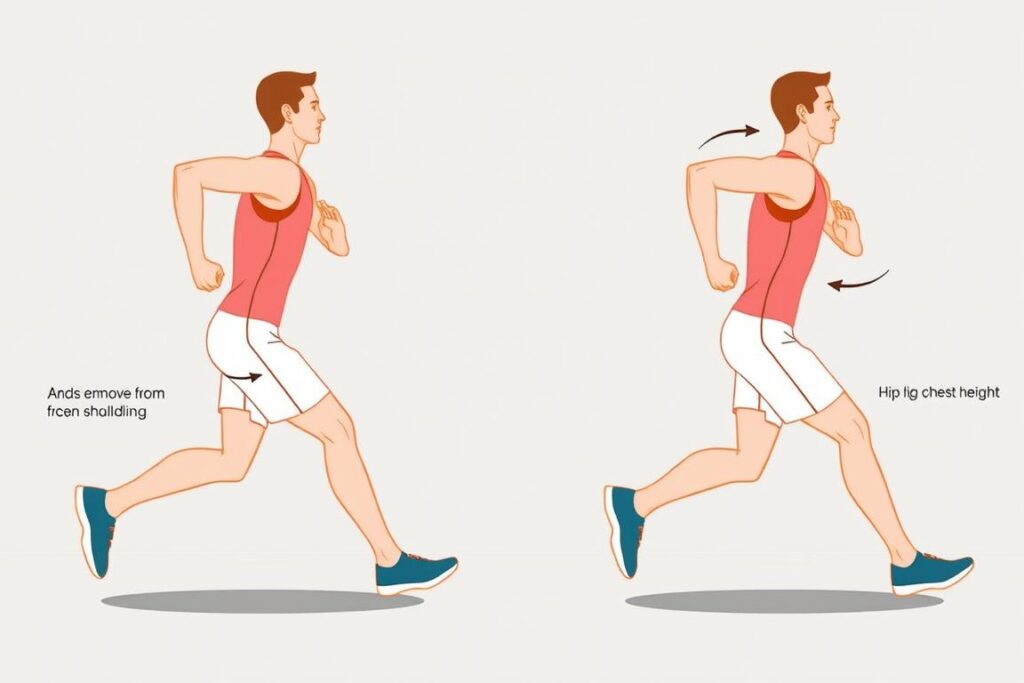
Step 6: Optimize Arm Swing
Your arms play a crucial role in maintaining balance and rhythm while running. Proper arm swing can improve your running economy by up to 3%.
Arm Swing Drill:
Run with your arms bent at approximately 90 degrees, swinging from your shoulder (not elbow). Your hands should move from “hip to lip”—swinging from beside your hip to about chest height. Avoid crossing your arms across your body’s midline.
Step 7: Implement Progressive Form Drills
Running drills help reinforce proper movement patterns and develop neuromuscular connections that make good form automatic.
High Knees:
Run in place, lifting knees to hip height. Focus on quick, light foot contacts and upright posture. Perform for 20-30 seconds.
Butt Kicks:
Run while kicking your heels toward your glutes. Maintain an upright posture and quick cadence. Perform for 20-30 seconds.
A-Skips:
Combine a skipping motion with high knees, focusing on driving your knee up and extending your foot down. Perform for 20-30 meters.
Running Tall:
Run with exaggerated upright posture, focusing on alignment and slight forward lean. Perform for 30-60 seconds.
High knees and butt kicks drills help reinforce proper running mechanics
Before and After: Real Running Form Transformations
Let’s examine three common scenarios where running form correction made a significant difference:
Case 1: The Overstrider
Before:
Sarah was landing with her foot far in front of her body, creating a braking effect with each step. Her cadence was low (160 steps per minute), and she experienced recurring shin splints and knee pain.
After:
By increasing her cadence to 174 steps per minute and focusing on landing with her foot closer to her center of mass, Sarah eliminated her shin pain and improved her 5K time by 2:45.
Before: Overstriding with foot landing far ahead of body. After: Improved foot placement under center of mass.
Case 2: The Posture Problem
Before:
Michael ran with hunched shoulders and forward head position. He frequently experienced upper back pain and felt winded even on shorter runs due to restricted breathing capacity.
After:
After focusing on running tall and strengthening his core, Michael’s posture improved dramatically. His breathing became more efficient, and he reported feeling stronger during the final miles of his long runs.

Before: Hunched posture restricting breathing. After: Aligned posture allowing full lung expansion.
Case 3: The Hip Dropper
Before:
Jennifer had significant pelvic drop during her running stride, with her right hip dropping 4 degrees lower than her left during the stance phase. She struggled with persistent IT band pain and couldn’t increase her mileage beyond 15 miles per week.
After:
After six weeks of targeted glute strengthening exercises and form drills, Jennifer’s hip drop reduced to less than 1 degree. Her IT band pain resolved, and she successfully completed her first half marathon.
Before: Significant hip drop during stance phase. After: Level pelvis throughout running stride.
Frequently Asked Questions
How long does running form correction take?
Running form correction is a gradual process that typically takes 4-8 weeks for noticeable improvements. Neuromuscular adaptations require consistent practice—your brain and muscles need time to learn new movement patterns. Start with short sessions (5-10 minutes) focusing on one element at a time, then gradually integrate these changes into your regular runs.
Some runners notice immediate benefits like reduced discomfort, while complete form transformation takes longer. Be patient and consistent—rushing form changes can lead to new problems.
Can I self-correct my running form without a coach?
Yes, self-correction is possible with the right approach. The key elements for successful self-correction include:
- Video analysis: Record yourself running from different angles (side, front, back)
- Systematic approach: Focus on one element at a time rather than trying to fix everything at once
- Consistent practice: Implement form drills regularly
- Feedback mechanisms: Use mirrors, video recordings, or running with your shadow
While professional guidance can accelerate progress, many runners successfully improve their form through self-study and consistent practice of the techniques outlined in this guide.
Will changing my running form affect my speed?
Initially, you might experience a temporary decrease in speed as your body adapts to new movement patterns. This is normal and part of the learning process. Think of it as taking one step back to take two steps forward.
Once your neuromuscular system adapts to the improved mechanics, most runners experience significant performance gains. Improved running economy means you’ll use less energy at the same pace, ultimately allowing you to run faster with the same effort.
How can I tell if my running form is improving?
Look for these indicators of improved running form:
- Reduced discomfort or pain during and after runs
- Feeling of running “lighter” or more effortlessly
- Improved breathing and less fatigue at similar paces
- Visual confirmation through video comparison
- Objective measurements like increased cadence or reduced ground contact time
- Ability to run longer distances without form deterioration
Track these metrics over time to gauge your progress and maintain motivation during the correction process.
Your Path to Better Running Starts Now
Running form correction isn’t just about looking like an elite athlete—it’s about moving in a way that keeps you healthy and helps you enjoy running for years to come. By implementing the seven steps outlined in this guide, you’re taking control of your running journey and setting yourself up for long-term success.
Remember that form correction is a process, not an overnight transformation. Be patient with yourself, celebrate small improvements, and trust that consistent practice will yield results. Your body is remarkably adaptable—give it time to learn these new movement patterns.
Take Your Running Form to the Next Level
Download our comprehensive Running Form Correction Checklist to track your progress and ensure you’re implementing all seven steps correctly.
Get Your Free Running Form Checklist
What aspect of your running form will you focus on improving first? Start with the element that feels most relevant to your current challenges, and build from there. Your future running self will thank you!